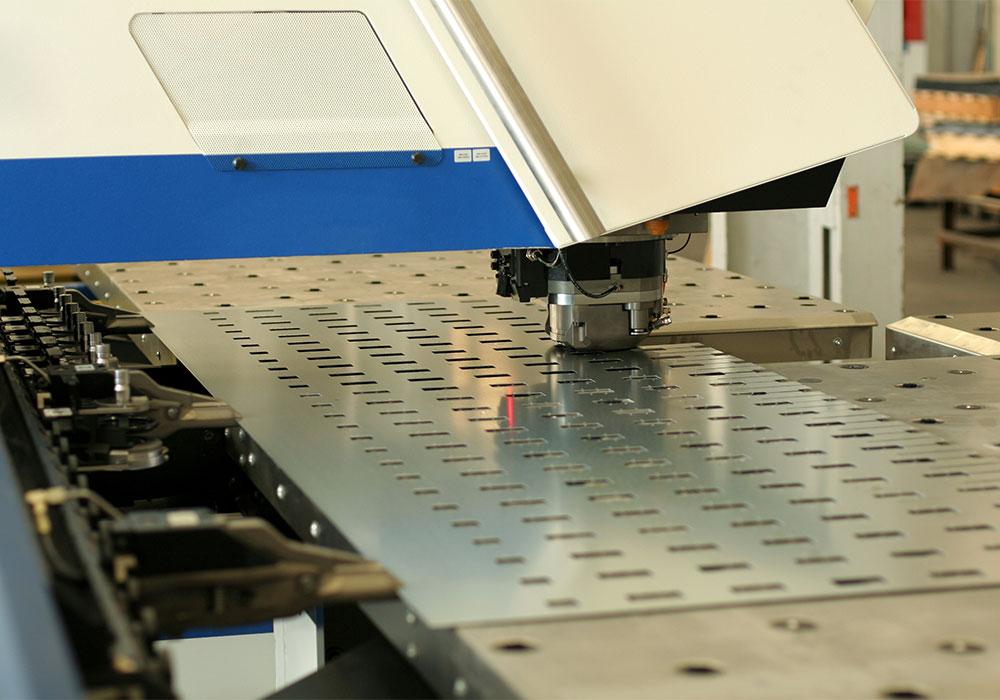
Achieving high-quality results in metal stamping relies heavily on the precise alignment of stamping dies. Even minor misalignments can lead to defects, increased tool wear, and costly downtime. Understanding how to verify stamping die alignment is essential for manufacturers and technicians aiming to maintain tight tolerances, reduce scrap, and extend tool life.
This guide explores proven methods for checking die alignment, the importance of regular verification, and practical tips for integrating alignment checks into your workflow. Whether you’re setting up a new die or troubleshooting production issues, mastering these techniques will help you produce consistent, accurate stamped parts.
For those looking to further optimize their stamping operations, learning about how to reduce tool wear in heavy gauge stamping can provide additional benefits and cost savings.
Why Accurate Die Alignment Matters in Metal Stamping
Proper die alignment is the foundation of precision in metal stamping. When dies are not correctly aligned, several issues can arise:
- Part Defects: Misalignment can cause burrs, uneven edges, or dimensional inaccuracies.
- Increased Tool Wear: Off-center forces accelerate wear on punches and dies, shortening tool life.
- Machine Damage: Repeated misalignment may lead to press damage or unplanned downtime.
- Safety Hazards: Poor alignment increases the risk of jams and accidents, making workplace safety a concern.
Regularly verifying die alignment helps maintain product quality, improves efficiency, and supports a safer working environment. For more on safety practices, see this comprehensive overview of safety in the metal stamping industry.
Key Steps for Checking Stamping Die Alignment
There are several reliable techniques for ensuring your dies are properly aligned. The following steps outline a systematic approach to verifying alignment before and during production runs.
1. Visual Inspection and Initial Setup
Begin by visually inspecting the die and press bed. Look for any debris, damage, or wear that could affect seating. Ensure both the upper and lower die halves are clean and free from obstructions. When mounting the die, use locating pins or blocks to help position the die accurately on the press bed.
2. Using Alignment Tools and Gauges
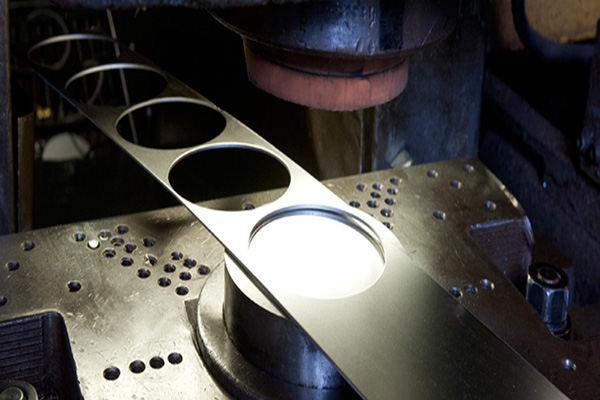
Precision tools are essential for confirming die alignment. Common tools include:
- Dial Indicators: Attach a dial indicator to the press ram and sweep across the die surface to check for parallelism and flatness.
- Feeler Gauges: Insert feeler gauges between die halves to detect gaps or uneven contact.
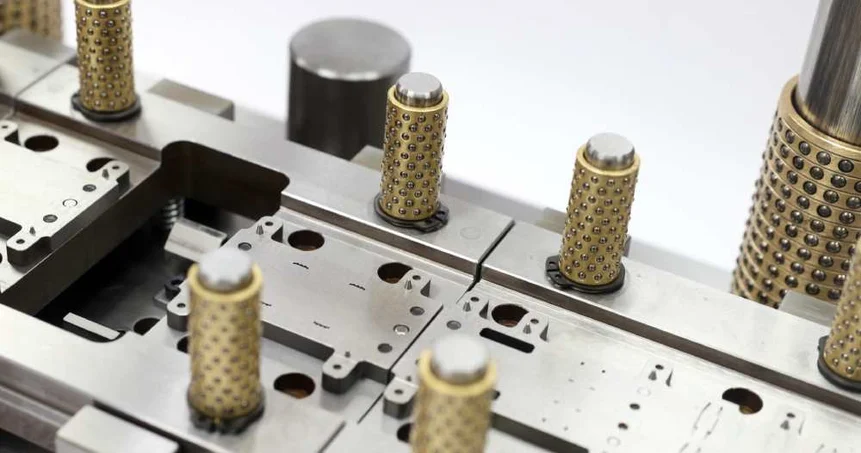
- Alignment Blocks or Pins: Use these to verify that the die halves are correctly positioned relative to each other and the press bed.
Take readings at multiple points around the die to ensure uniform contact. Any significant variation may indicate the need for adjustment.
3. Conducting Test Runs and Measuring Output
After initial alignment, run a small batch of test parts. Inspect these parts for signs of misalignment, such as:
- Off-center holes or features
- Uneven material flow or thickness
- Burrs or incomplete forming
Use calipers, micrometers, or optical comparators to measure critical dimensions. If defects are found, recheck alignment and make necessary corrections before starting full production.
Advanced Methods for Die Alignment Verification
For high-precision applications or complex dies, advanced techniques can further improve alignment accuracy:
Laser Alignment Systems
Laser-based systems project a reference line or grid onto the die and press bed, allowing for fast, non-contact verification of alignment. These systems are especially useful for large or multi-station dies where manual checks are challenging.
Electronic Sensors and Monitoring
Some modern presses are equipped with electronic sensors that continuously monitor die position and alignment during operation. These systems can alert operators to misalignment in real time, reducing the risk of producing defective parts.
Best Practices for Maintaining Die Alignment
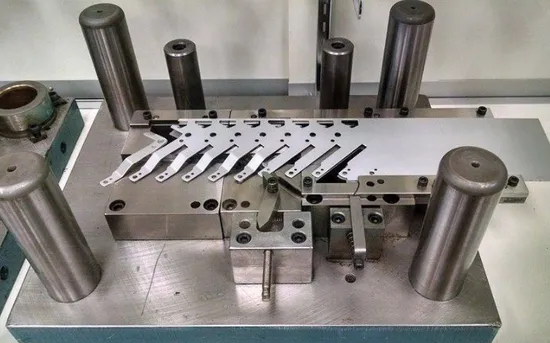
Consistent results depend on more than just initial setup. Incorporate these best practices into your routine to maintain alignment over time:
- Regular Inspections: Schedule periodic checks, especially after die changes or maintenance.
- Cleanliness: Keep the press bed and die surfaces free from debris and lubricants that can affect seating.
- Proper Storage: Store dies in a way that prevents warping or damage.
- Training: Ensure operators are trained in alignment procedures and understand the importance of accuracy.
For additional tips on maintaining edge quality, see our guide on how to minimize burrs in stamped parts.
Common Signs of Misalignment and Troubleshooting Tips
Even with careful setup, misalignment can occur over time due to wear, improper handling, or press issues. Watch for these warning signs:
- Sudden increase in part defects or scrap rate
- Unusual noises or vibrations during stamping
- Visible wear patterns on die surfaces
- Difficulty in removing or installing dies
If you notice any of these issues, stop production and perform a thorough alignment check. Addressing problems early can prevent more serious damage and maintain production quality.
For more on inspecting finished parts, review our article on how to inspect stamped steel parts for quality.
Integrating Alignment Checks Into Your Workflow
Making die alignment verification a standard part of your setup and maintenance routines pays dividends in quality and efficiency. Consider the following workflow integration tips:
- Include alignment checks in your standard operating procedures (SOPs).
- Document alignment measurements and adjustments for future reference.
- Use checklists to ensure no steps are missed during die setup or changeovers.
- Invest in quality alignment tools and keep them calibrated.
By embedding these practices into your process, you’ll reduce the risk of costly errors and improve overall productivity.
FAQ: Stamping Die Alignment and Precision
What are the most common causes of die misalignment?
Common causes include improper installation, debris or wear on the press bed, worn guide pins, and accidental impacts during die handling. Regular cleaning and inspection help prevent these issues.
How often should die alignment be checked?
Alignment should be verified during initial setup, after any die change, and periodically during long production runs. High-volume or high-precision operations may require more frequent checks.
Can die alignment affect tool life?
Yes, poor alignment increases uneven loading and accelerates wear on punches and dies. Proper alignment extends tool life and reduces maintenance costs.
Are there differences in alignment techniques for hydraulic and mechanical presses?
While the basic principles are similar, hydraulic presses may require additional checks due to their adjustable stroke and slower speed. For more details, see our article on the differences between hydraulic and mechanical stamping presses.
Conclusion
Ensuring accurate die alignment is a critical step in achieving consistent, high-quality stamped parts. By following a systematic approach—combining visual checks, precision tools, and regular monitoring—you can minimize defects, extend tool life, and maintain a safe, efficient operation. Integrate alignment verification into your workflow and stay proactive in addressing any issues that arise. With these practices, your stamping processes will deliver reliable results and long-term value.