Precision in pilot pin placement is fundamental to achieving consistent results in steel stamping operations. For die designers, understanding the nuances of pilot pin location, size, and function ensures accurate part positioning, reduces scrap, and extends tool life. This steel stamping pilot pin placement guide explores the best practices, common pitfalls, and technical considerations that underpin successful die design for metal stamping projects.
Whether you’re developing dies for high-volume production or tackling complex part geometries, the right approach to pilot pin integration can make a significant difference. For those interested in broader topics like how to reduce tool wear in heavy gauge stamping, integrating effective pilot systems is a key strategy.
Understanding the Role of Pilot Pins in Metal Stamping
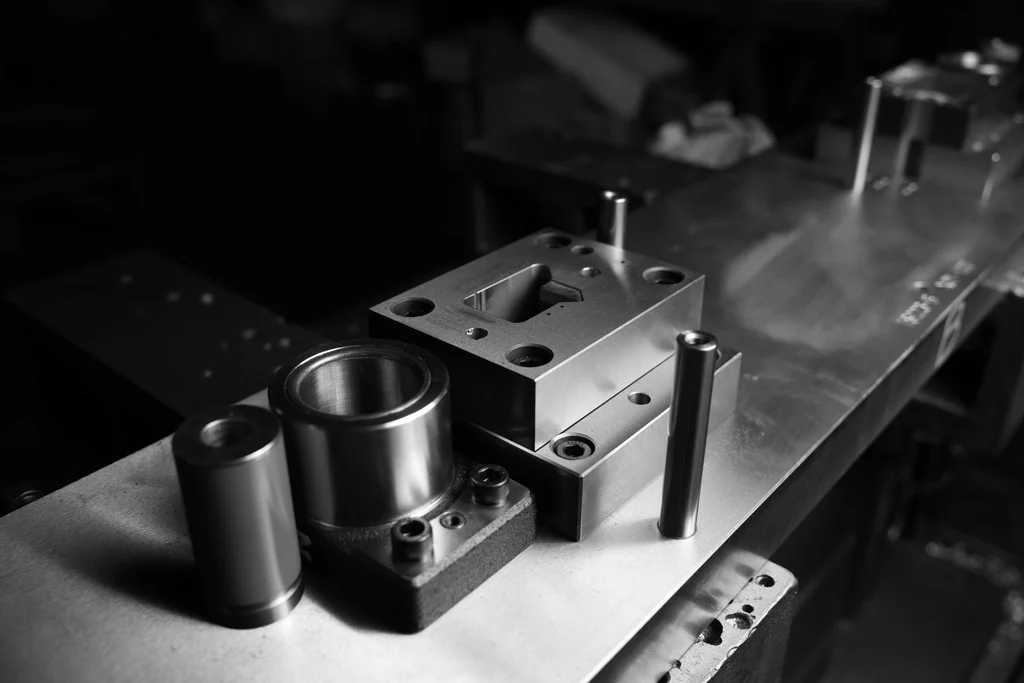
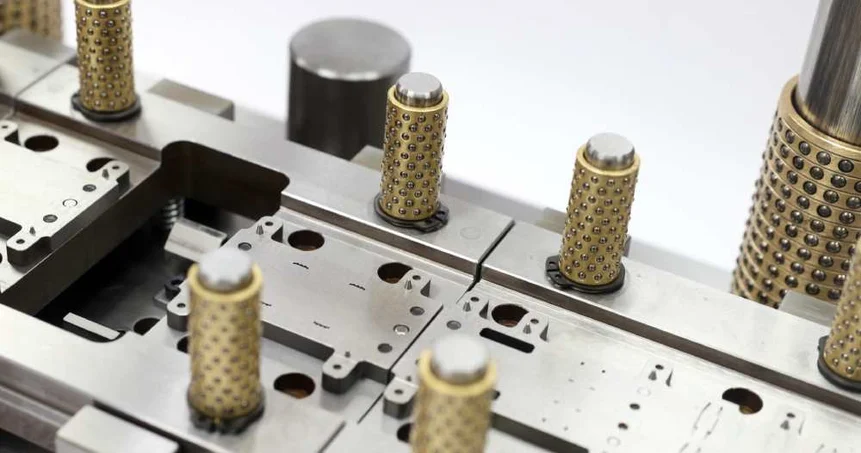
Pilot pins, sometimes called pilots, are precision-ground components used in progressive and compound dies to ensure that the workpiece is accurately located during each stage of the stamping process. Their main function is to align the strip or blank within the die, compensating for any lateral movement or misfeed that may occur as the material advances.
Proper pilot pin placement is essential for:
- Maintaining dimensional accuracy of stamped parts
- Reducing the risk of die damage due to misalignment
- Minimizing burrs and edge defects
- Improving repeatability and process stability
For a deeper dive into minimizing edge defects, see how to minimize burrs in stamped parts.
Key Principles for Pilot Pin Location in Die Design
When developing a die, the placement of pilot pins must be considered early in the design process. The following principles are widely accepted in the industry:
- Locate pilots after the first cutting or forming station: This allows the material to be initially positioned by the feed mechanism, then precisely aligned by the pilots for subsequent operations.
- Use at least two pilot pins: Two or more pilots prevent rotation and ensure the strip is held firmly in position. For complex or long parts, additional pilots may be necessary.
- Stagger pilot locations: Avoid placing pilots in a straight line parallel to the feed direction. Staggering increases stability and reduces the risk of strip skewing.
- Position pilots close to critical features: Place pilots near holes, notches, or other features that require precise location to maximize accuracy.
Best Practices for Pilot Pin Sizing and Fit
Choosing the correct pilot pin diameter and fit is crucial for reliable operation. Here are some best practices:
- Pilot pin diameter should be slightly smaller than the hole in the strip to allow for easy entry but tight enough to prevent excessive play. A typical clearance is 0.01–0.03 mm (0.0004–0.0012 in).
- Pilot pin length must be sufficient to guide the strip without causing interference with the die or material.
- Material and hardness of the pilot should be chosen to withstand repeated impact and wear. Tool steels such as D2 or A2 are common choices, often hardened to 58–62 HRC.
- Chamfered or rounded tips help guide the pin into the hole and reduce the risk of jamming.
For more on quality assurance in stamped components, see how to inspect stamped steel parts for quality.
Common Mistakes in Pilot Pin Placement
Even experienced die designers can encounter issues if pilot pins are not properly integrated. Some frequent mistakes include:
- Placing pilots too close to the edge of the strip, leading to distortion or tearing
- Using only one pilot, which can allow rotation and misalignment
- Failing to account for material springback or strip width variation
- Ignoring burrs or debris, which can prevent proper seating of the pilot
Integrating Pilot Pins into Progressive Die Layouts
Progressive dies require careful planning of pilot pin locations to ensure each station operates with maximum precision. Consider these guidelines:
- Install pilots after the first station to allow initial feeding, then use them to control strip position for all subsequent operations.
- Design pilot holes in the strip at the blanking or piercing station, ensuring they are created before pilots are needed.
- Use “lead-in” pilots with a smaller diameter at the first entry point, followed by full-size pilots for final positioning.
- Ensure pilot withdrawal timing is coordinated with press motion to avoid bending or shearing the pins.
For additional insights on press types and their impact on die design, review the differences between hydraulic and mechanical stamping presses.
Material Handling and Pilot Pin Effectiveness
Proper material handling is essential for pilot pins to function as intended. If the strip is not fed accurately, even the best pilot system can fail. Key considerations include:
- Use of precision feeders to minimize strip misalignment
- Regular cleaning of dies to prevent debris buildup
- Monitoring strip width and thickness for consistency
- Ensuring pilot holes are free of burrs and properly sized
For safe and efficient material handling, see how to handle coil stock for stamping.
Quality Control and Troubleshooting Pilot Pin Issues
Even with careful design, pilot pin problems can arise during production. Common troubleshooting steps include:
- Inspecting pilot pins for wear or damage
- Checking for burrs or deformation in pilot holes
- Verifying alignment of die components
- Adjusting pilot pin clearance if excessive play or binding is observed
Regular maintenance and inspection are critical to sustaining die performance and part quality. For more on quality control, refer to how to inspect stamped steel parts for quality.
Industry Resources and Further Reading
For a broader understanding of metal stamping processes, including safety, equipment, and technology trends, consult resources like MCR Safety’s metal stamping overview. Staying informed about industry developments can help you refine your die design strategies and improve production outcomes.
Frequently Asked Questions
What is the primary function of pilot pins in metal stamping dies?
Pilot pins are used to precisely locate and align the strip or blank within the die at each station. This ensures that all features are formed or cut in the correct position, improving part accuracy and reducing scrap.
How do I determine the correct clearance between a pilot pin and the pilot hole?
The clearance should be minimal—typically 0.01–0.03 mm (0.0004–0.0012 in)—to allow easy entry while preventing excessive movement. The exact value depends on material thickness, tolerances, and the specific requirements of your stamping process.
Can pilot pins be used with all types of stamping dies?
Pilot pins are most commonly used in progressive and compound dies where precise strip positioning is critical. They are less common in simple blanking dies but may still be used if part alignment is a concern.